How to Remove Malware From Your PC (Step-by-Step Guide)
It’s a feeling every PC user dreads: the sudden slowdown, the endless pop-up ads, or the terrifying ransomware message. Malware, which includes viruses, spyware, trojans, and ransomware, isn’t just an annoyance—it’s a direct threat to your personal data, financial information, and online privacy.
If you suspect your computer is infected, don’t panic. With a clear, methodical approach, you can reclaim your machine. This guide will walk you through the essential steps to find and remove malware from your Windows PC.
First, Are You Infected? Common Signs of Malware
Before you begin the removal process, confirm you’re dealing with an infection. Look for these classic warning signs:
- Sudden Performance Drop: Your PC is suddenly sluggish, applications take forever to load, or it freezes frequently.
- Constant Pop-Up Ads: You’re seeing ads even when your browser is closed.
- Browser Hijacking: Your homepage or default search engine changes without your permission, or you’re redirected to strange websites.
- New, Unwanted Toolbars: Your browser has new toolbars or extensions you didn’t install.
- Frequent Crashes: The dreaded “Blue Screen of Death” (BSOD) or other system-wide crashes happen regularly.
- Mysterious Network Activity: Your internet connection is unusually slow, and you notice strange network activity (your modem’s lights are blinking frantically).
- Antivirus Disabled: Your antivirus or firewall has been turned off, and you can’t seem to turn it back on.
If these symptoms sound familiar, it’s time to take action.
The Step-by-Step Malware Removal Guide
Follow these steps in order for the best results. Do not skip any.
Step 1: Disconnect from the Internet
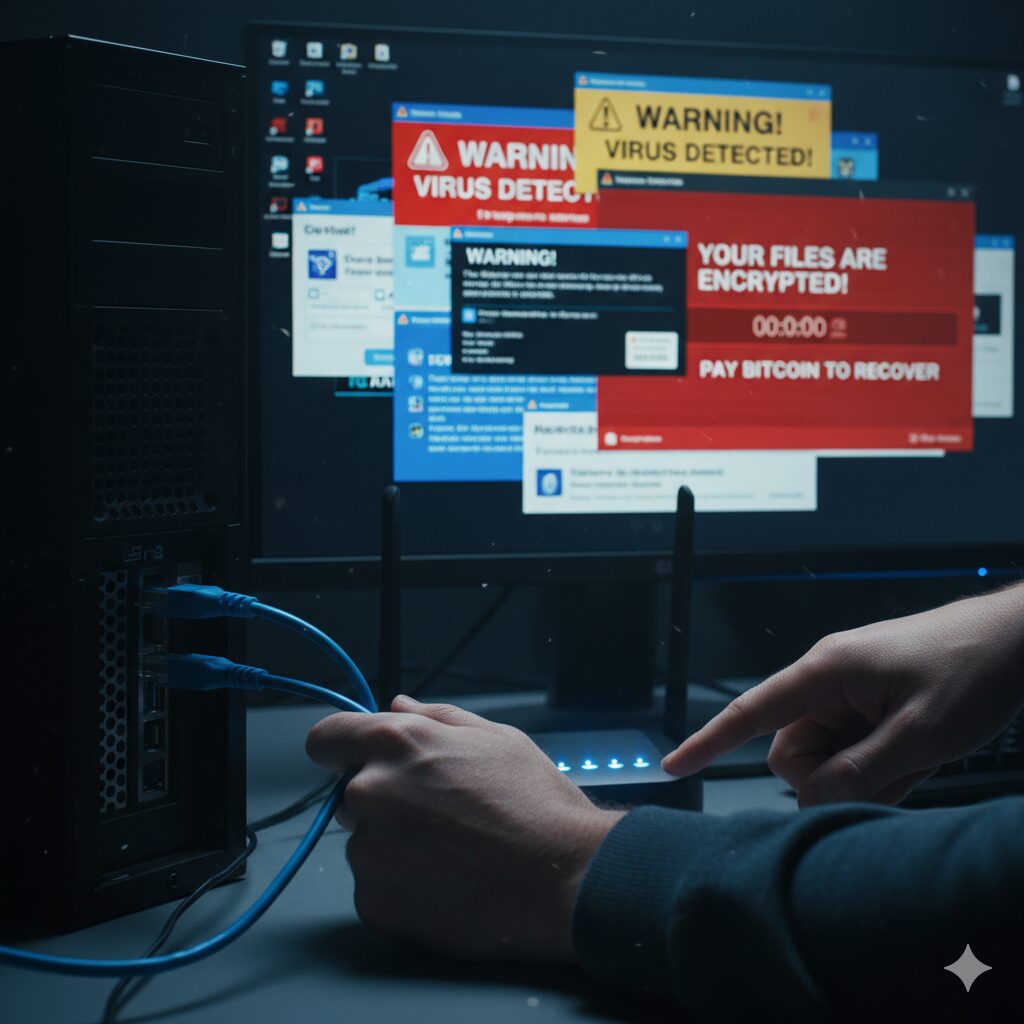
This is your first and most critical move. As soon as you suspect malware, disconnect your PC from the internet.
- For Wi-Fi: Turn off your computer’s Wi-Fi adapter.
- For Wired: Unplug the Ethernet cable from your PC.
This immediately stops the malware from communicating with its “command and control” server, preventing it from spreading to other devices on your network or sending your data out.
Step 2: Boot into Safe Mode (with Networking)
Malware is often designed to load as soon as Windows starts, making it difficult to remove. Safe Mode starts Windows with only the bare-bones essential files and drivers. This often prevents the malware from running, making it much easier to delete.
- Restart your computer.
- As it boots, repeatedly press the F8 key (on older PCs) or hold Shift while clicking Restart from the power menu (on Windows 10/11).
- This will bring up the “Advanced Boot Options” or “Choose an option” screen.
- Select Troubleshoot > Advanced options > Startup Settings > Restart.
- After your PC restarts, you’ll see a list of options. Press 5 or F5 to select “Enable Safe Mode with Networking.”
Note: We select “with Networking” only so we can download the necessary scanning tools in the next step. If you’ve already downloaded them on a clean PC and saved them to a USB drive, you can choose regular “Safe Mode.”
Step 3: Clean Your Temporary Files
Before running a scan, clear out your temporary files. This can speed up the scan and even remove some malware components.
- In Safe Mode, type “Disk Cleanup” into the Windows search bar and open the utility.
- Select your main drive (usually C:).
- Check the box for “Temporary files” and “Temporary Internet Files.”
- Click OK and then “Delete Files” to confirm.
Step 4: Run an On-Demand Malware Scanner
Your existing antivirus might have missed the infection. Your next step is to use a powerful, on-demand scanner known for its excellent detection rates. These are designed to find and remove threats that other programs miss.
- While in Safe Mode with Networking, open your browser and download a reputable, free on-demand scanner.
- Excellent choices include Malwarebytes, Bitdefender Free Edition, or Emsisoft Emergency Kit.
- Install the program and run any available updates to get the latest malware definitions.
- Run a Full or System Scan (do not just run a “Quick Scan”). This will take time, possibly over an hour, but it’s essential.
Step 5: Review Scan Results and Quarantine
Once the scan is complete, the program will show you a list of all the malicious files and registry keys it found.
- Don’t just delete everything. Most scanners will recommend an action, typically “Quarantine” or “Remove.”
- Quarantine is the safest option. It moves the malicious files to a secure vault where they can no longer do any harm, but allows you to restore them if a “false positive” (a good file mistakenly flagged as bad) occurred.
- Trust your scanner. Follow its recommendations and let it clean your system.
Step 6: Run a Full Scan with Your Primary Antivirus
Even after the on-demand scanner has done its job, it’s wise to get a second opinion from your main security suite (e.g., Windows Defender, Norton, McAfee, etc.).
- Restart your computer normally (exit Safe Mode).
- Ensure your primary antivirus is fully updated.
- Run another Full System Scan.
- This helps confirm that the initial threat is gone and catches any lingering components the first scanner might have missed.
Step 7: Reset Your Passwords
This step is non-negotiable. If you had malware, especially spyware or a trojan, you must assume your passwords have been compromised.
After you are confident your PC is clean, use a different, clean device (like your smartphone) to change the passwords for your:
- Email accounts (most important!)
- Online banking and financial accounts
- Social media accounts
- Any other important online service
What If the Malware Is Still There?
In rare cases, some persistent malware (like a rootkit) may survive these steps. You have two final options.
- Use System Restore: You can “roll back” your system to a point in time before the infection occurred. Type “Create a restore point” into the Windows search, click “System Restore,” and choose a restore point dated before you noticed the problems. Warning: This will uninstall any programs and drivers you installed after that date.
- The “Nuclear Option” – Reset or Reinstall Windows: This is the 100% guaranteed way to remove any infection. Windows 10 and 11 have a “Reset this PC” feature that allows you to reinstall the operating system, either keeping your files or wiping everything. Wiping everything is the most secure bet. Always back up your essential data (photos, documents) to an external drive before doing this.
How to Prevent Malware in the Future
An ounce of prevention is worth a pound of cure. Keep your PC secure with these habits:
- Keep Everything Updated: This is your #1 defense. Enable automatic updates for Windows, your browser, and all your applications.
- Use a Top-Tier Antivirus: Use a high-quality, real-time antivirus program and keep it enabled. Windows Defender, built into Windows, is very good, but paid options often offer more features.
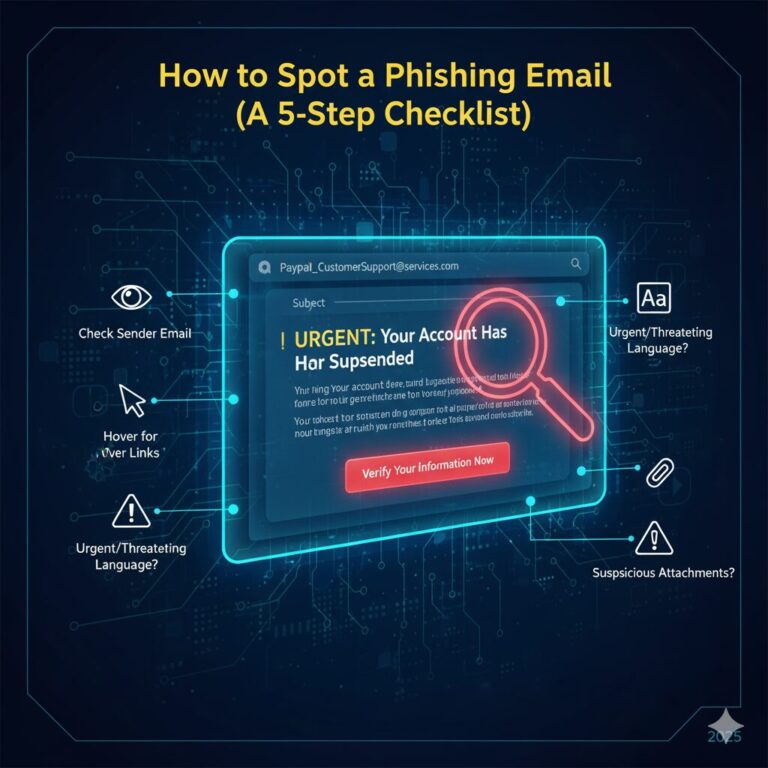
- Be Smart About Clicks: Don’t click on suspicious links in emails, social media, or text messages. If an email from “your bank” looks weird, it’s a phishing scam.
- Verify Downloads: Only download software from the official vendor’s website, not from third-party “downloader” sites.
- Use a Firewall: Ensure the Windows Firewall (or your antivirus’s firewall) is always turned on.
- Back Up Your Data: Regularly back up your important files to an external hard drive or a cloud service. If you get hit with ransomware, you can just wipe your PC and restore your files, no ransom required
